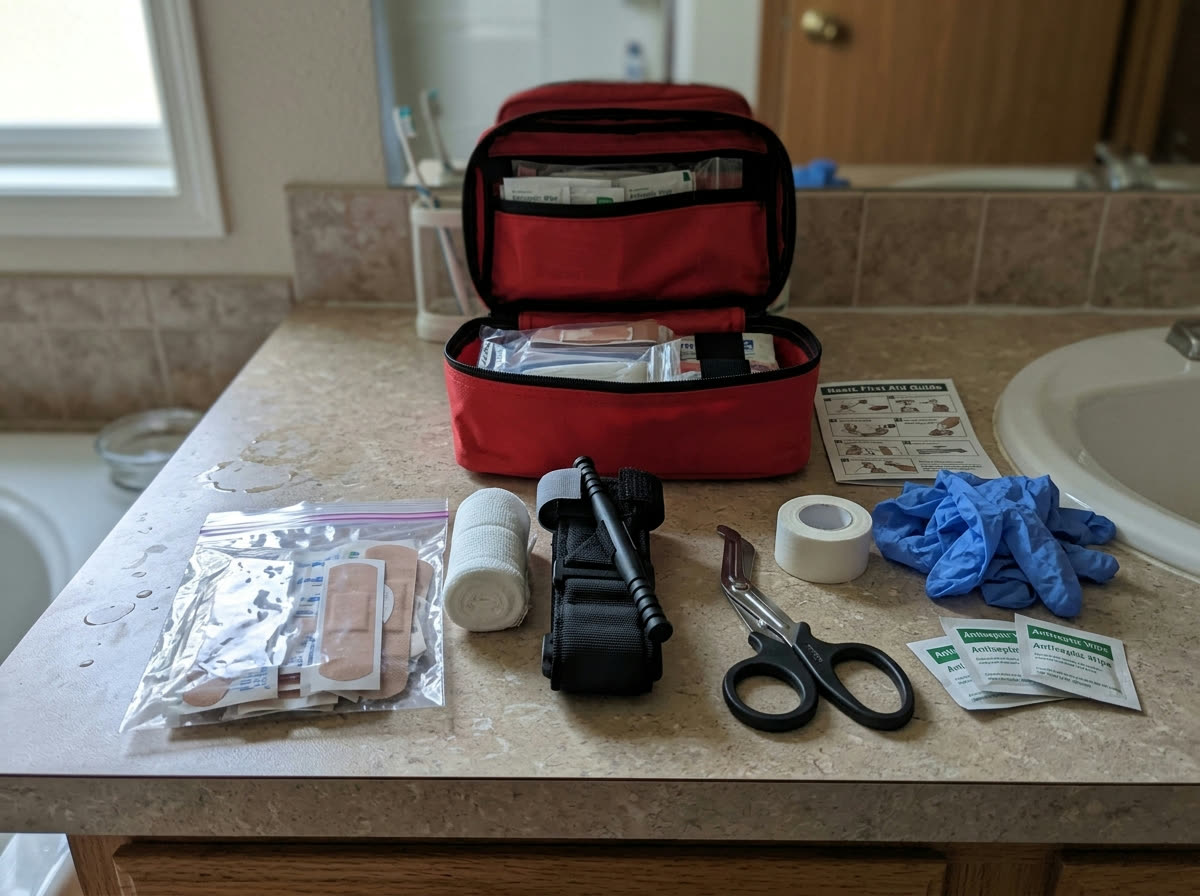
Most of us already own a first-aid kit. It lives in a bathroom cabinet or a kitchen drawer, and it is full of adhesive bandages, a few antiseptic wipes, and maybe a single safety pin that has been there since the Obama administration. That kit is genuinely useful for scraped knees and kitchen nicks. It is not built for the moments that actually scare us: a deep laceration, a bad fall, a car accident on a rural road where help is twenty minutes out.
This is the gap we want to talk about. There is a real difference between a "boo-boo kit" and a kit that can help keep someone alive long enough for professional help to arrive. Closing that gap is not expensive, and it is not complicated. But it does require one thing that no amount of shopping can replace, and we want to say it up front before we say anything else.
We are not medical professionals, and this is general preparedness information, not medical advice. Nothing here is a substitute for hands-on instruction from qualified instructors. We will not walk you through how to perform any procedure, because reading about bleeding control is not the same as being trained to do it. In a real emergency, your first move is almost always the same: call 911. The goal of this article is to help you think about what to own and, far more importantly, what to learn.
Training is the upgrade that matters most
Here is the uncomfortable truth that the preparedness world sometimes glosses over to sell more gear: a trauma kit in untrained hands can do more harm than good. Equipment without training is a false sense of security. The single best thing you can do for your family's injury readiness is not on any shopping list.
Gear is the easy part. You can buy a complete trauma kit in an afternoon. Competence takes a class, some repetition, and the humility to practice a skill you hope you'll never use.
We strongly recommend taking a hands-on class. Look for a basic first-aid and CPR course, and specifically for a bleeding-control course, often offered through community programs designed to teach ordinary people how to respond to serious bleeding before EMS arrives. These classes are usually a few hours, frequently free or low-cost, and they let you put your hands on the actual equipment under the eye of someone who knows what they're doing.
Honest caveat: we know "take a class" is the least exciting advice in any preparedness article. It's also the advice we'd give first, last, and loudest. If you only do one thing after reading this, make it signing up for a class, not adding items to a cart.
The trauma upgrades worth adding
Once you've committed to getting trained — or at least to training as you build — a handful of items move your kit from minor-injury territory toward genuine bleeding control. These are the components designed for the situations where minutes genuinely count.
A windlass tourniquet (a real one)
For severe limb bleeding, a proper commercial windlass tourniquet is the centerpiece of a serious kit. The word "commercial" matters here. The improvised belt-and-stick versions you see in movies are unreliable, and the cheap knock-offs sold online can fail at the exact moment they're needed. Buy from a reputable source, buy more than one, and learn from an instructor when and how it's used.
Honest caveat: a tourniquet is a high-consequence tool. Used correctly it saves lives; used wrong it can cause harm. This is precisely why we keep circling back to training — this is not a device to figure out for the first time while someone is bleeding.
A pressure dressing and hemostatic gauze
For wounds that aren't on a limb — or as part of the broader approach to bleeding — an emergency trauma bandage (a pressure dressing) and a roll of hemostatic gauze are the next additions. These are compact, shelf-stable, and inexpensive relative to what they do. Keep them sealed until needed, and check expiration dates when you do your seasonal kit review.
Gloves, shears, and the unglamorous basics
- Nitrile gloves — several pairs, to protect both you and the injured person. Stash a pair in your wallet or glovebox too.
- Trauma shears — for cutting away clothing fast so you can actually see an injury.
- A permanent marker — simple, cheap, and genuinely useful for noting timing information that EMS will want.
- A compact reference card — printed, laminated, and stored in the kit (more on this below).
The everyday and personal layer
Trauma gear gets the attention, but the items you'll actually reach for most are mundane — and they're easy to forget precisely because they feel boring.
Stock a supply of everyday over-the-counter medications your household actually uses: pain and fever reducers, an antihistamine, an anti-diarrheal, electrolyte packets. We're deliberately not listing doses or telling you what to take — that's between you, the label, and your pharmacist or doctor.
The more important layer is personal. A generic kit doesn't know your family. Build in:
- Personal prescriptions: a few days' buffer of any critical daily medications, rotated so they stay current. If someone depends on a rescue inhaler or an epinephrine auto-injector, those are non-negotiable and should travel with the person.
- Allergy information: a written note of every household member's allergies and current medications, somewhere a responder can find it.
- Pediatric or elder-specific needs: a kit built for healthy adults may be useless for the people you're actually trying to protect.
Honest caveat: we can't tell you which medications belong in your kit or how to use them — that genuinely depends on your health, and it's a conversation for your doctor or pharmacist, not an article on the internet.
Don't forget the car
Statistically, the roadside is where a lot of us will face the worst injuries we ever see. A vehicle is also where you may be far from help, which makes a dedicated car kit one of the highest-value upgrades on this list.
A car kit should mirror your home trauma kit — tourniquet, pressure dressing, gauze, gloves, shears — plus a few vehicle-specific items: a seatbelt cutter and window-breaking tool, a flashlight with spare batteries, an emergency blanket, and high-visibility markers or flares so a scene is visible to other drivers and arriving help.
Honest caveat: heat and cold degrade supplies. A kit baking in a trunk through summer needs more frequent checks, and some medications simply don't belong in a hot car at all. Build the kit, then put a reminder on your calendar to actually look at it twice a year.
Putting it together
If you take nothing else from this, take the order of operations. First, sign up for a hands-on first-aid and bleeding-control class — that's the upgrade that turns gear into capability. Second, build a trauma layer onto your existing kit: a quality windlass tourniquet, a pressure dressing, hemostatic gauze, gloves, and shears, sealed and labeled for fast access. Third, personalize it with your family's medications, allergies, and a printed reference card. Fourth, mirror it all in the car and keep it maintained.
None of this is about expecting the worst or living in fear. It's the opposite. We find that knowing we've prepared — and more importantly, that we've practiced — lets us worry about it less. Buy the gear, yes. But book the class first. And in any real emergency, the most prepared thing you can do is still the simplest: call 911, and use what you've trained for until help arrives.